Have you ever heard the term “ceramics”? If you don’t recognize the word, then how about the famous romantic scene from the movie Ghost where a woman who is being embraced by a man from behind shapes clay on a rapidly rotating machine? What she was doing is called “wheel throwing,” which is one of the methods of making uniform and symmetrical pottery.
We can create any type of pottery, including bowls, cups, and even vases, on wheel throwing machines, and use them in our daily life. Even if it is your first time hearing the term “ceramics,” it is actually everywhere in your everyday life. So what exactly are ceramics and how are they used in our daily lives?
The term “ceramic” originated from the Greek word “keramos,” meaning “pottery” or “burnt stuff.” According to the American Ceramic Society, ceramics are made with inorganic non-metallic materials such as oxides, nitrides, carbides, and borides that are shaped or carved and hardened by firing at a high temperature of 1650F / 900°C. In general, they are hard, corrosion-resistant, and brittle.
There are a lot of techniques for creating and producing ceramic artworks. You can make the body of a mug, and paint it with specialized paint called underglaze or even scrape out particular lines and engrave your own pattern on them. However, before all of these processes, you must complete the first step, which is simple but crucial.
After selecting the clay that you’re going to work with, the first thing you need to do is wedging. There are many ways to wedge, but all you need to do is pull up the body of clay and push it down repeatedly.
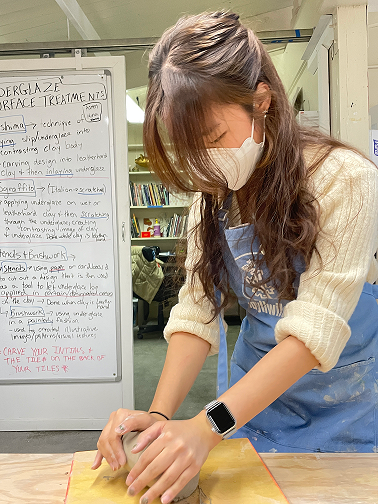
By repeating this action, you can get rid of the air in your clay, which is crucial for your pottery. If there is air in your clay, it will expand during firing and eventually break your piece. Wedging also produces uniform moisture throughout the clay, which prevents the clay from drying out while you are working. Moreover, it helps make your clay more pliable, which makes it easier to work with.
Now, you can play around with your wedged clay! Because wedged clay is soft and flexible, you can make any shape you want. However, if you feel like you want to make organized, clean, and even pottery, there are three techniques that I would like to suggest.
1.Slab
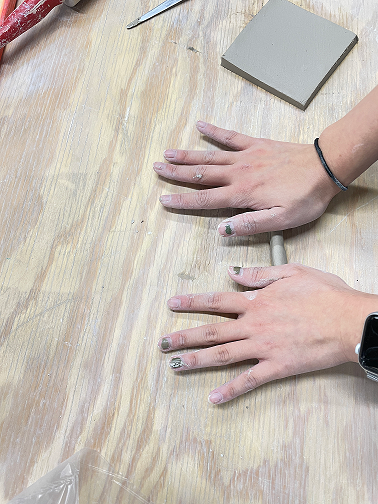
The slab technique is very straightforward. It literally involves making slabs with clay. First of all, get your wedged clay and tear off a sufficiently large chunk of clay.

Next, throw it on the table in the constant direction -- from the left front of your body to the right-back -- diagonally.
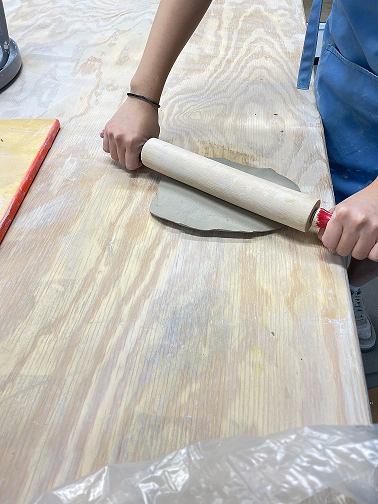
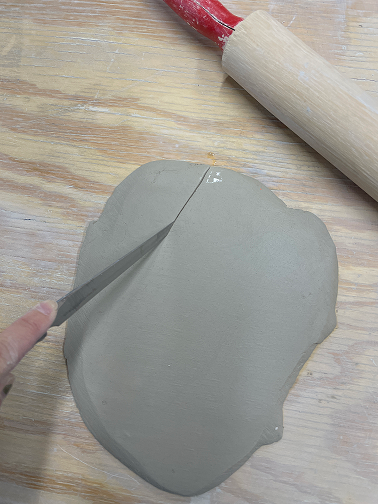
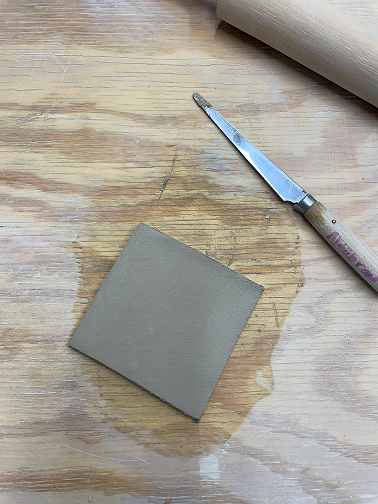
As you keep doing this, your chunk of clay will get wider and thinner. When your clay is as wide as you want, get a rolling pin and smooth out the rough surface. You can then cut out the shape you want from the slab and make a tile.
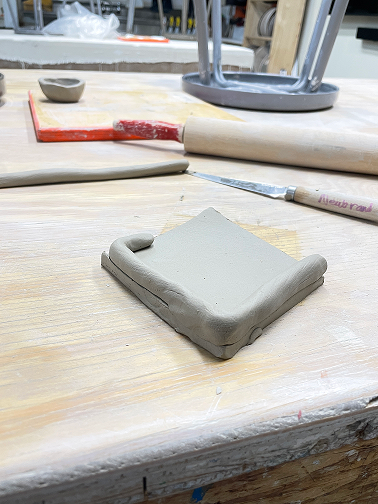
2.Coil building
Coil building is the most basic and frequently-used hand-building method in ceramics. It is a great way to produce asymmetrical pottery or art pieces. With the slab from the previous technique, you need to make coils, which are long and thin sticks. Normally, half an inch is the proper thickness for your coil.
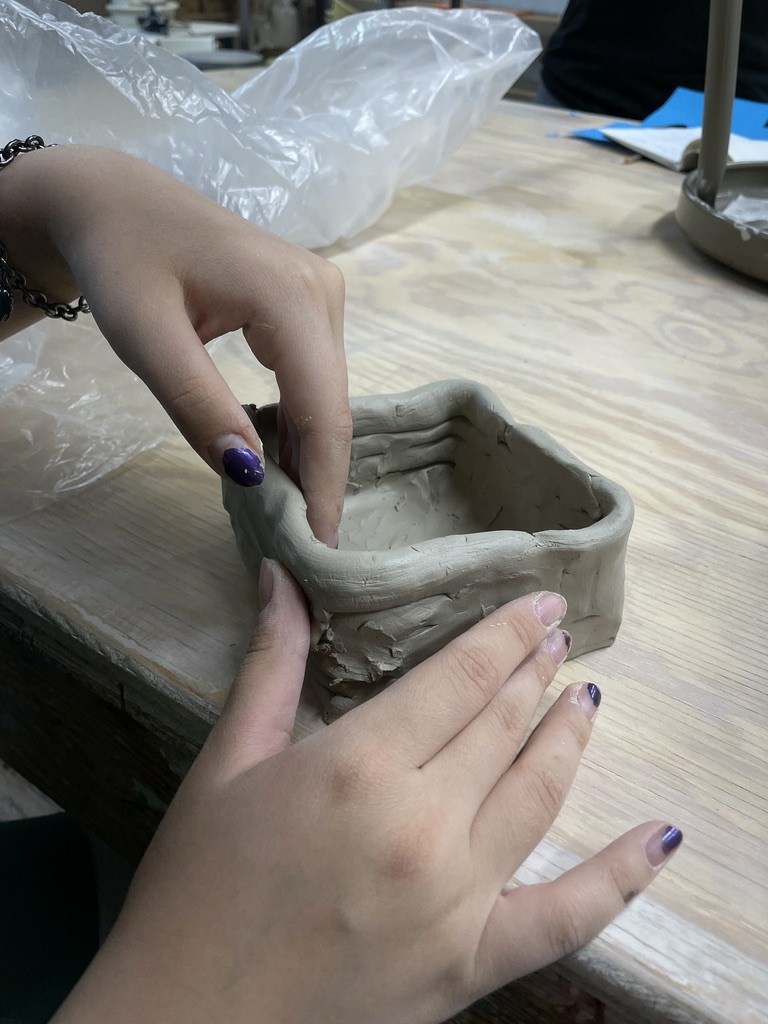
Next, you start to stack up your coils around the edge of the tile from the previous technique.
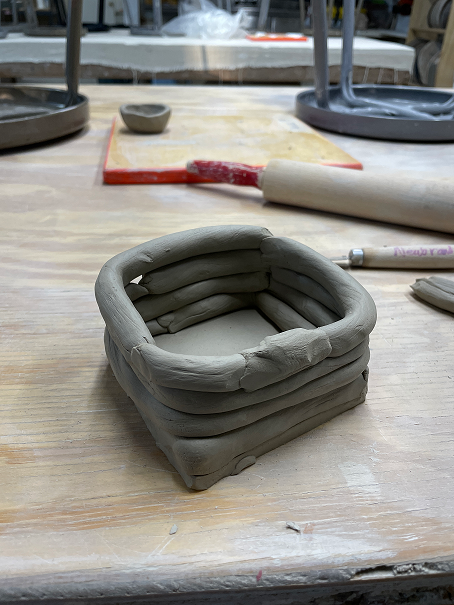
Don’t forget to merge the sim between each layer. Otherwise, your work may break during firing due to the air trapped inside and lack of stiffness.
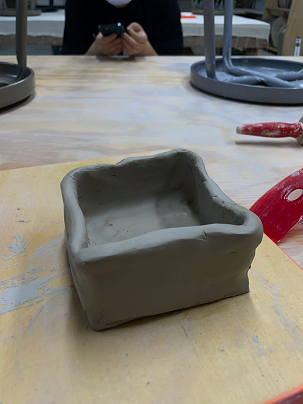
By repeating this process, you can build up the height of your piece, and the combination of the tile and coils will eventually transform into a fascinating artwork.
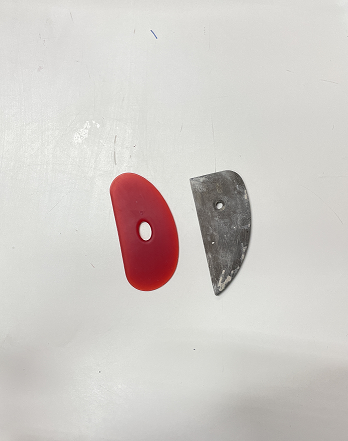
After you finish building up the coils, there may be some wrinkles that you want to get rid of. In that case, you can use a tool called a “rib,” which is used to smooth out the surface of clay.
3.Pinch pot
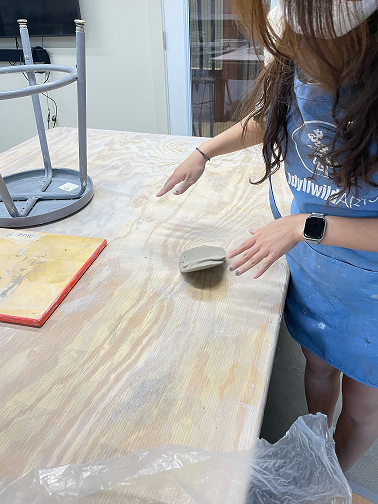
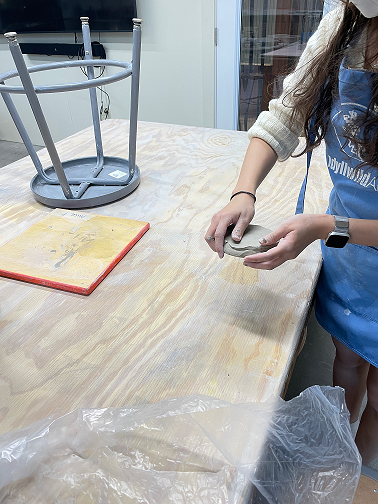
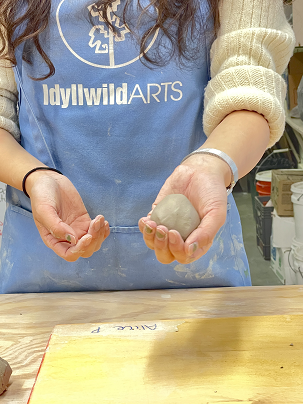
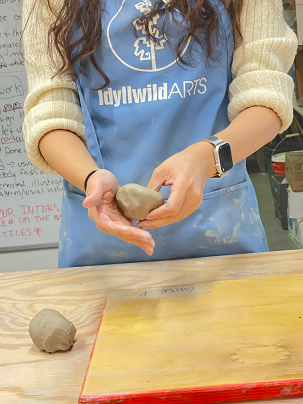
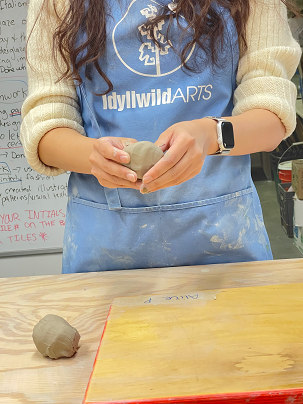
A pinch pot is the easiest and fastest way to make a small pot. First, you just need to roll your small amount of clay into a ball that fits nicely in your hand.
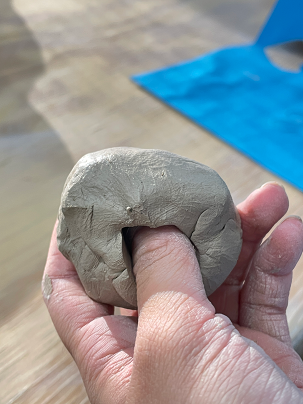
Next, stick the thumb of your dominant hand into the ball of clay as far as the first joint.
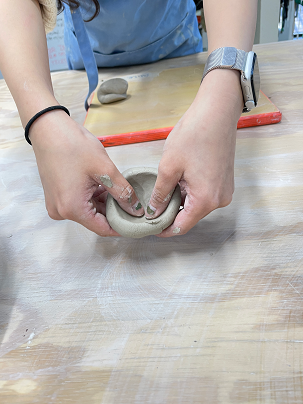
With the support of the other hand, start to widen the hole that you made with the thumb by rotating the clay ball.

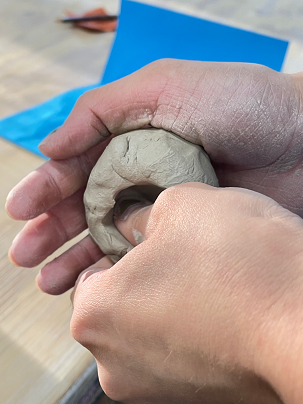
Eventually, as the hole gets big enough, you can use both of your thumbs to smooth out the clay into a pot shape. The result is a nice little pinch pot.
These are the three basic hand-building skills in ceramics. As they are basic and simple, they are the most frequently used techniques in this field. How about using these techniques to take your first step into ceramics, one of the most interesting fields of art? It will be a worthwhile and unforgettable experience.

Chaewon Park
Grade 11
Idyllwild Arts Academy